Introduction & Basics
How to Properly Terminate Cat6 Ethernet Cables
Master the art of terminating Cat6 Ethernet cables with our step-by-step guide. Learn the essential tools and techniques needed to ensure a reliable and high-performance network connection, perfect for both home and professional setups.
Tools and Materials You’ll Need:
Cat6 Ethernet Cable: Ensure you have the correct length and quality of cable.
RJ45 Connectors: These are the modular plugs used to connect the cables to devices.
Crimping Tool: A specialized tool for attaching the RJ45 connectors to the cables.
Cable Stripper: Used for removing the outer jacket of the cable without damaging the internal wires.
Cable Tester: To verify the functionality of your terminated cables.
Scissors or Cable Cutter: For trimming the cable to the desired length.
Small Flathead Screwdriver: Useful for untwisting the wire pairs.
Step-by-Step Guide:
Step 1: Prepare the Cable
Measure and Cut: Determine the required length of your Ethernet cable and cut it using a cable cutter. Strip the Outer Jacket: Use the cable stripper to remove about 2 inches of the outer jacket from each end of the cable. Be careful not to nick the internal wires.
Step 2: Untwist and Arrange the Wires
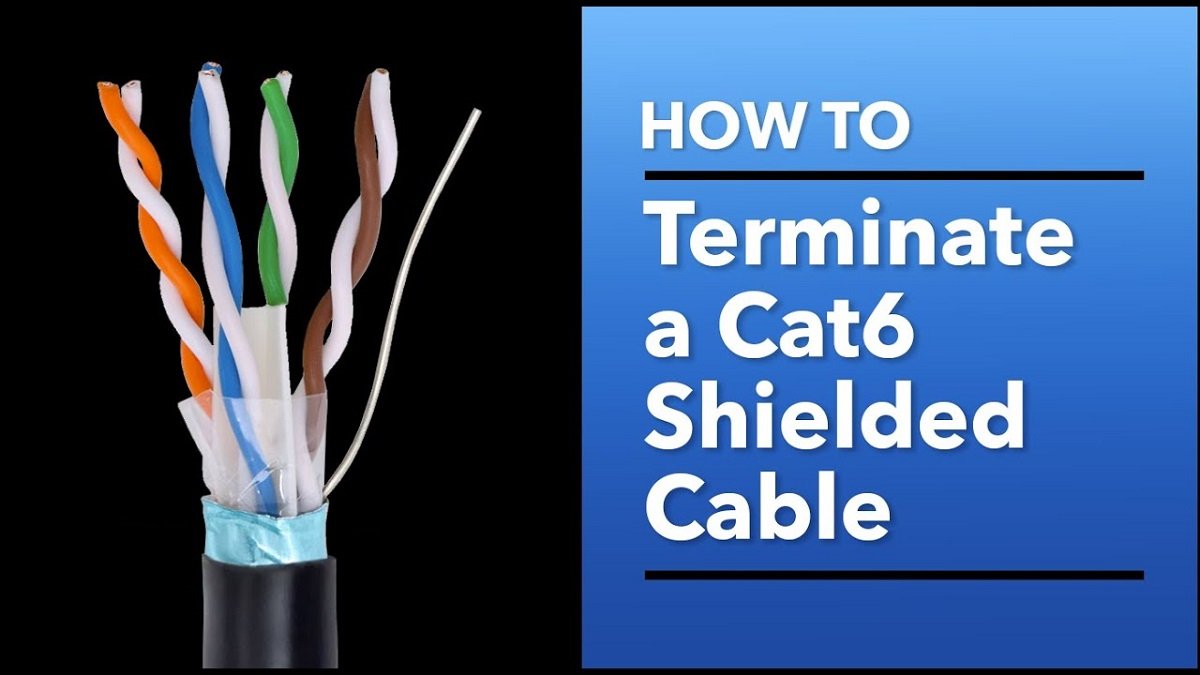
Untwist the Pairs: Carefully untwist the pairs of wires. Cat6 cables usually contain four twisted pairs, color-coded as follows:
Pair 1: White/Orange and Orange
Pair 2: White/Green and Green
Pair 3: White/Blue and Blue
Pair 4: White/Brown and Brown
Flatten and Arrange: Arrange the wires in the correct order according to the T568B wiring standard (most common for Ethernet connections):
Pin 1: White/Orange
Pin 2: Orange
Pin 3: White/Green
Pin 4: Blue
Pin 5: White/Blue
Pin 6: Green
Pin 7: White/Brown
Pin 8: Brown
Step 3: Trim and Insert the Wires
Trim the Wires: Using scissors or a cable cutter, trim the wires so they are all the same length, about 0.5 inches from the end of the outer jacket.
Insert into RJ45 Connector: Holding the RJ45 connector with the clip facing down, carefully insert the wires into the connector. Ensure each wire goes into its respective channel.
Step 4: Crimp the Connector
Crimping: Insert the connector into the crimping tool and squeeze firmly to secure the connector onto the cable. This process pushes metal pins into the wires, creating a secure connection.
Check the Connection: Give the connector a gentle tug to ensure it’s securely attached to the cable.
Step 5: Test the Cable
Use a Cable Tester: Plug each end of the cable into a cable tester to verify that all wires are correctly connected and that there are no shorts or miswires. The tester will indicate if any issues need to be addressed.
Tips for Success
- Practice Makes Perfect: Your first few attempts might not be perfect, but with practice, your technique will improve.
- Double-Check Your Work: Before crimping, ensure the wires are in the correct order and fully inserted into the RJ45 connector.
- Use Quality Tools: Investing in good-quality tools will make the process easier and more reliable.
By following these steps and tips, you’ll be able to confidently terminate Cat6 Ethernet cables, ensuring a robust and high-speed network connection for your home or professional setup. Happy networking!
Tags: #Cat6 #Ethernet #Networking #CableTermination #DIYNetworking #TechGuide #HomeNetworking #ProfessionalNetworking #RJ45 #CrimpingTool m#CableTester #StepByStep #TechTutorial #NetworkSetup


Europe’s Push for Sustainable Network Infrastructure

Asia’s Leading Role in Fiber Optic Cable Production

Review of Top PoE Switches for 2024
-

 Breaking News7 years ago
Major Acquisition in the Network Cabling Industry
-

 Blog2 months ago
The Future of Network Cabling: Trends and Innovations
-
 Blog2 months ago
Europe’s Push for Sustainable Network Infrastructure
-
 Blog2 months ago
Asia’s Leading Role in Fiber Optic Cable Production
-

 Blog2 months ago
How IoT is Changing Network Cabling Requirements
-

 Blog2 months ago
Types of Network Cables: Ethernet, Fiber Optics, Coaxial
-
 Blog2 months ago
Review of Top PoE Switches for 2024
-

 Blog2 months ago
The Impact of 5G on Network Cabling